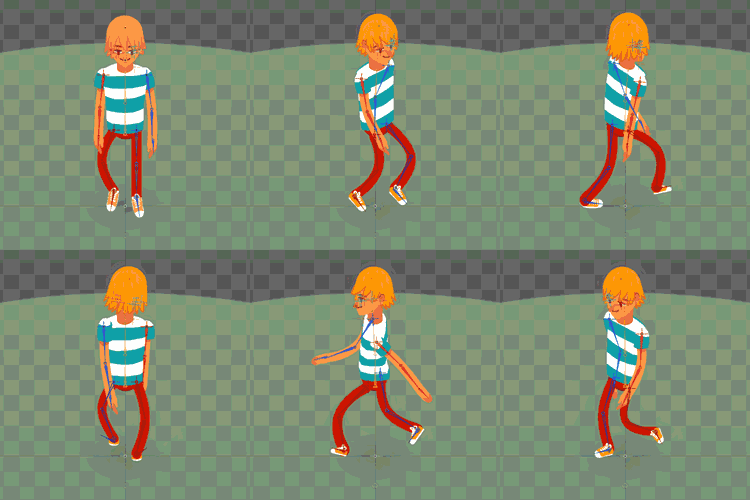
Hi Zooch!
It looks like yours is not a pure top-down view, where you'd need to only draw all these parts once as seen from the top, but more of a multidirectional character with the addition of having a not very forgiving point of view.
Your art style is amazing by the way. Now let's tackle this beast.
A series of streams about making characters turn in every direction with an example project is available here:
Spine: Twitch: video SS5JGbD5BJY

In addition to this here are some tips:
meshes are your ally. often having a point bone on each border or angle (but a reasonable amount like one per corner or per side) will mean you'll be able to manage and distort an asset for animation and hopefully for more than one direction
modularity is key to make overlapping more natural. separate the hand from the upper and lower arm, as well as the hair from the head. If they're supposed to overlap in perspective, you want each on its own nice bone. It may seem like a lot without even starting to animate, but you'll be happy to have freedom and flexibility once everything is set.
For the cloak you may paint a straight version with 3-4 different shading effects to simulate horizontal wind strokes. You prepare the mesh for one of them then duplicate its slot and replace the image path so that another image will be showing, you can then fade in and out this new image(s) when needed while controlling the cloak deforming with bones. This uses a reasonable amount of bones and images without sacrificing some cool effects. You may add some special cloak images if you feel these will be seen very often but try to start by limiting yourself.
If you have any specific problem or doubt I'm happy to reason on it with you (: