!!
#Diamond
The Diamond project shows how to create an advanced faux 3D effect with Spine Professional. The project illustrates how to control its rotation using a Slider.
## Setup
This projects builds on the steps illustrated in [this blog post](blog/Rotating-diamond-tutorial), which results in the animation below:
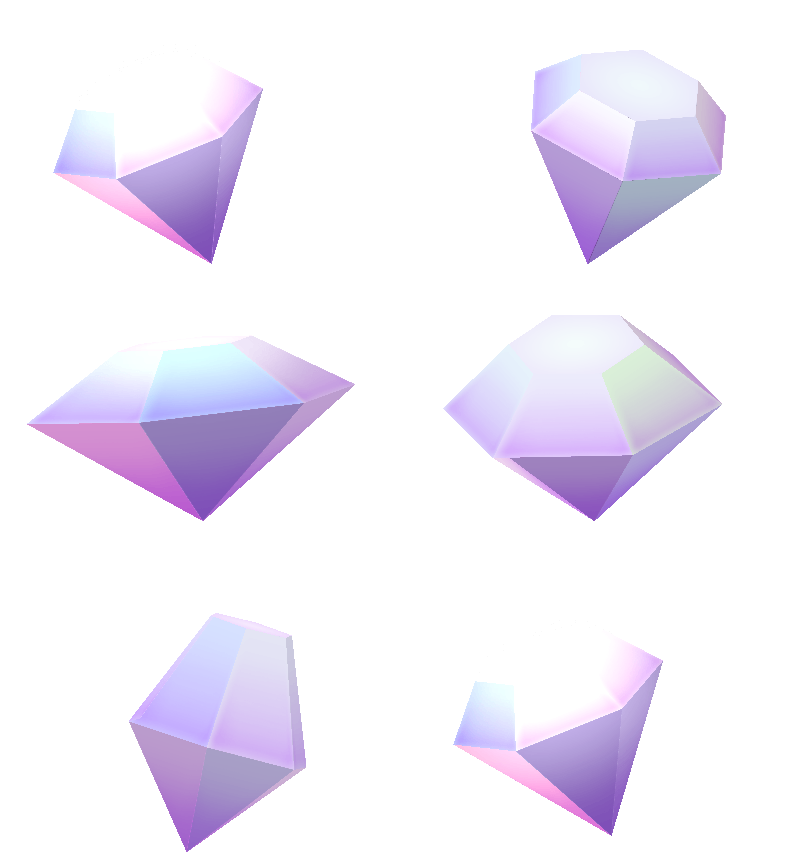 !!
Compared to the blog version, the draw order keys have been removed. Instead, all of the image attachments for the sides of the diamonds have an alpha of `176` making them see-through.
!!
Compared to the blog version, the draw order keys have been removed. Instead, all of the image attachments for the sides of the diamonds have an alpha of `176` making them see-through.
 !!
## Shine effects
There are two shine effects in this project: a general glow divided in two slots, `upper-side-gradient` and `upper-side-gradient2`, as well as a shine [sequence](/spine-regions#Sequence) for every side of the diamond.
Most of these animations happen in the `rotation` animation, which is also explained in more detail in the dedicated section below.
The general glow simply [fades in and out](/spine-keys#Slot-color) while changing tint in Animate mode.
!!
## Shine effects
There are two shine effects in this project: a general glow divided in two slots, `upper-side-gradient` and `upper-side-gradient2`, as well as a shine [sequence](/spine-regions#Sequence) for every side of the diamond.
Most of these animations happen in the `rotation` animation, which is also explained in more detail in the dedicated section below.
The general glow simply [fades in and out](/spine-keys#Slot-color) while changing tint in Animate mode.
!!
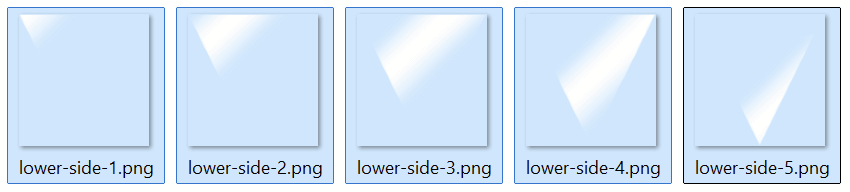
The shine effects that appear on each side have the exact same size as the side they are affecting. This way, the mesh for each side can be duplicated, and the path replaced to point to the first shine image.
The sequence goes from frame `0` to `6`, where the first and last images are empty, so that no [slot attachment keys](/spine-keys#Slot-attachment) have to be continuously added or removed from the animation.
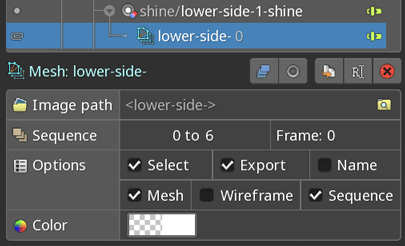
The various sequences are then keyed in Animate mode with the `Once reverse` setting so as to play from the last to the first frame, matching the rotation of the diamond. There can be five or six shine effects happening at the same time, considering the general glow, top shine, upper sides shines, and lower sides shines, so only the ones facing the front are activated to keep the number of animated elements more manageable.
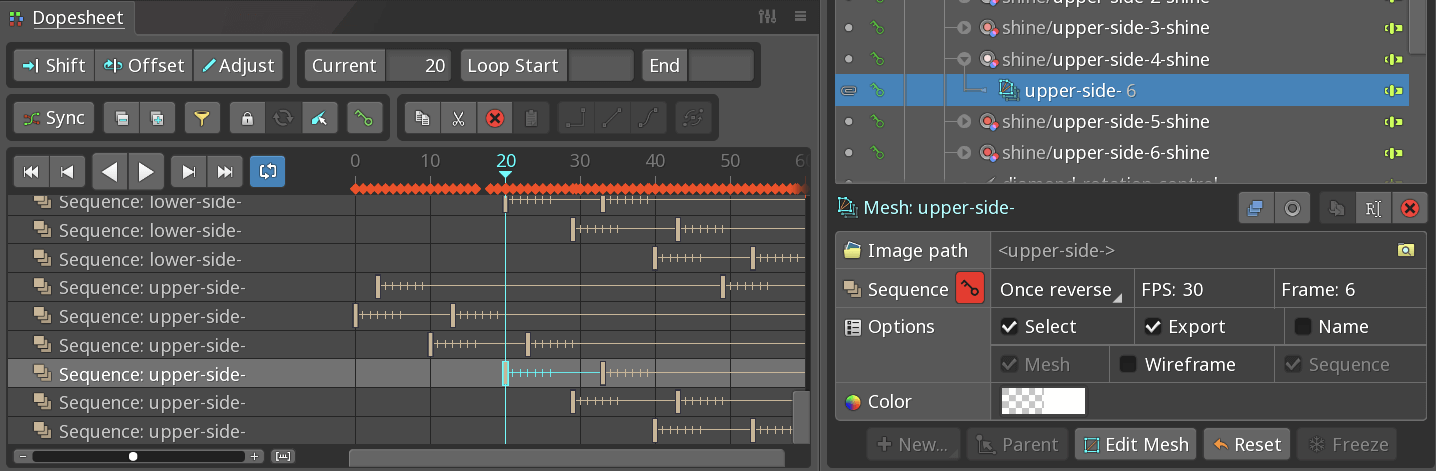
The slots that contain the shine effects have the [blending](/spine-slots#Blending) set to additive. The colors are then animated in Animate mode to create a rainbow shimmering effect. Originally, all of the shines were selected, and the slot colors animated as a rainbow. These keys were then [offset](/spine-keys#Offset) to create variations for each side, since multiple shines can be visible at the same time.

## Slider
The [slider](/spine-sliders) `rotation` contains the rotation animation for the diamond.
First, the `rotation` animation is created with keys that animate the diamond rotating. This animation has keys from `0` to `60` so that within this interval the diamond performs a complete turnaround, just as described in the [blog](/blog/Rotating-diamond-tutorial#Rotating-in-perspective). The only difference is that from Spine version 4 and above, a complete rotation can be achieved with just two keys set in local axis at `0` and `+360`.
The animation is then selected in Setup mode and a new slider is created.

The bone `diamond-rotation-control` was created to control this slider through its rotation. Once assigned to the slider through the Bone field of the slider properties, `rotate`, with a range from `0` to `360`, controls the progression of the slider animation, mapped from frame `0` to `60`, its entire length.
The `local` setting ensures that even when the diamond rotates in certain animations, the control still works as expected. `loop` allows the bone to rotate beyond 360° or into negative values, repeating the animation from the beginning.

## Animations
The bone `diamond-rotation-control` is then used to control the diamond rotation without having to manually recreate or adjust the timing for the various effects involved. This allows the creation of many variations with very few keys.
 !!
This is the case for every other animation in the project except for `idle-still`, which has the slider mix set to `0` so as to freely control the various elements previously keyed in the animation. In this way, it is possible to create a more static but still shiny version of the diamond.

!!
This is the case for every other animation in the project except for `idle-still`, which has the slider mix set to `0` so as to freely control the various elements previously keyed in the animation. In this way, it is possible to create a more static but still shiny version of the diamond.
